
How to create and update NFT collections on LoopExchange

LoopExchange is an NFT marketplace for all Loopring Layer 2 creators and collectors, where everyone is welcome to share their original art as well as sell and resell their collectibles.
Because NFTs on Loopring Layer 2 all get the same collection identifier (associated with the original minter), at LoopExchange we’ve engineered a system that lets you split collections you’ve minted into multiple smaller ones.
Creating a new collection
LoopExchange is built and ran within the community (and its budget!), so to better manage costly resources all processing is done via queues. In order to import your collection, follow the steps below.
1. Sign in to LoopExchange
You can do so by either visiting your account page or by clicking the user icon in the top right corner.

2. Import your collection
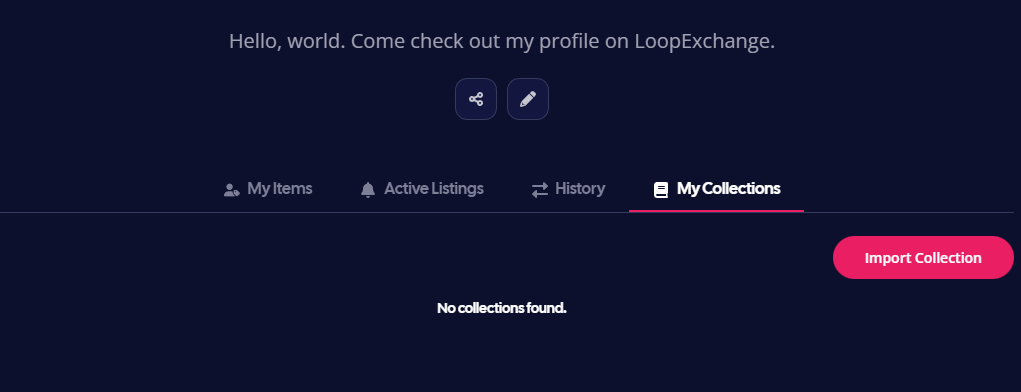
After a successful sign–in you’ll be redirected to your account page.
Open My Collections tab
Click the Import Collection button
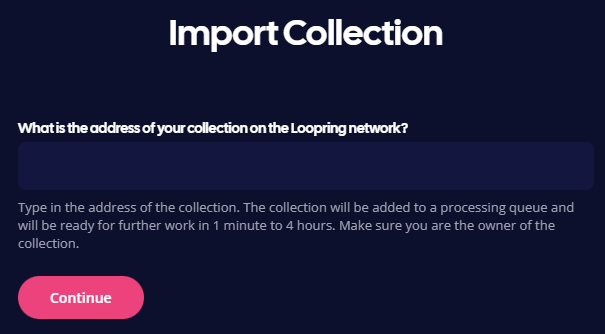
You will be presented with a simple form asking for your collection’s identifier (we explain how to obtain it below). Note that you must own the collection in order to import it.
In order to get your collection identifier (address) visit an NFT you own in Loopring Explorer and click View Collection*
It’s now located within the website address (URL) which should looks like this:
https://explorer.loopring.io/collections/0xYour-Collection-Address-Here
Copy/paste the 0xYour-Collection-Address-Here part into the form
Hit Continue
*If there’s any trouble, try using The Lexplorer instead. The website address (URL) containing your collection contract address will then look like this:
https://lexplorer.io/nfts/collections/0xYour-Collection-Address-Here
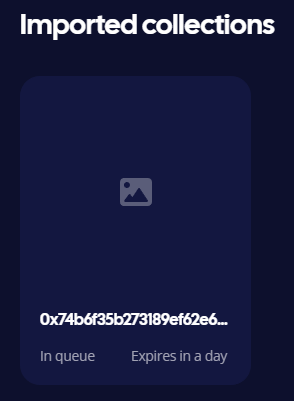
Your collection will now go into a queue with every other collection currently being processed.
You can always check the status of your import on your account page under My Collections. During quiet periods of traffic it will only take up a few minutes. During busier periods, however, the process may even take up to 4 hours*.
*(we suggest lessening the stress of such unfortunate occurrence by going outside).
3. Setup imported collection
3.1 Provide basic information
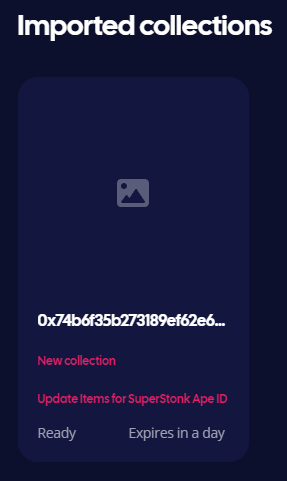
Once the import process is complete, the status of your collection will be updated to Ready. New Collection link will also appear in its card.
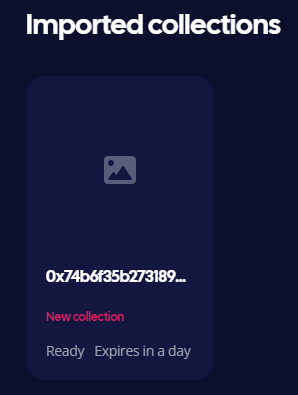
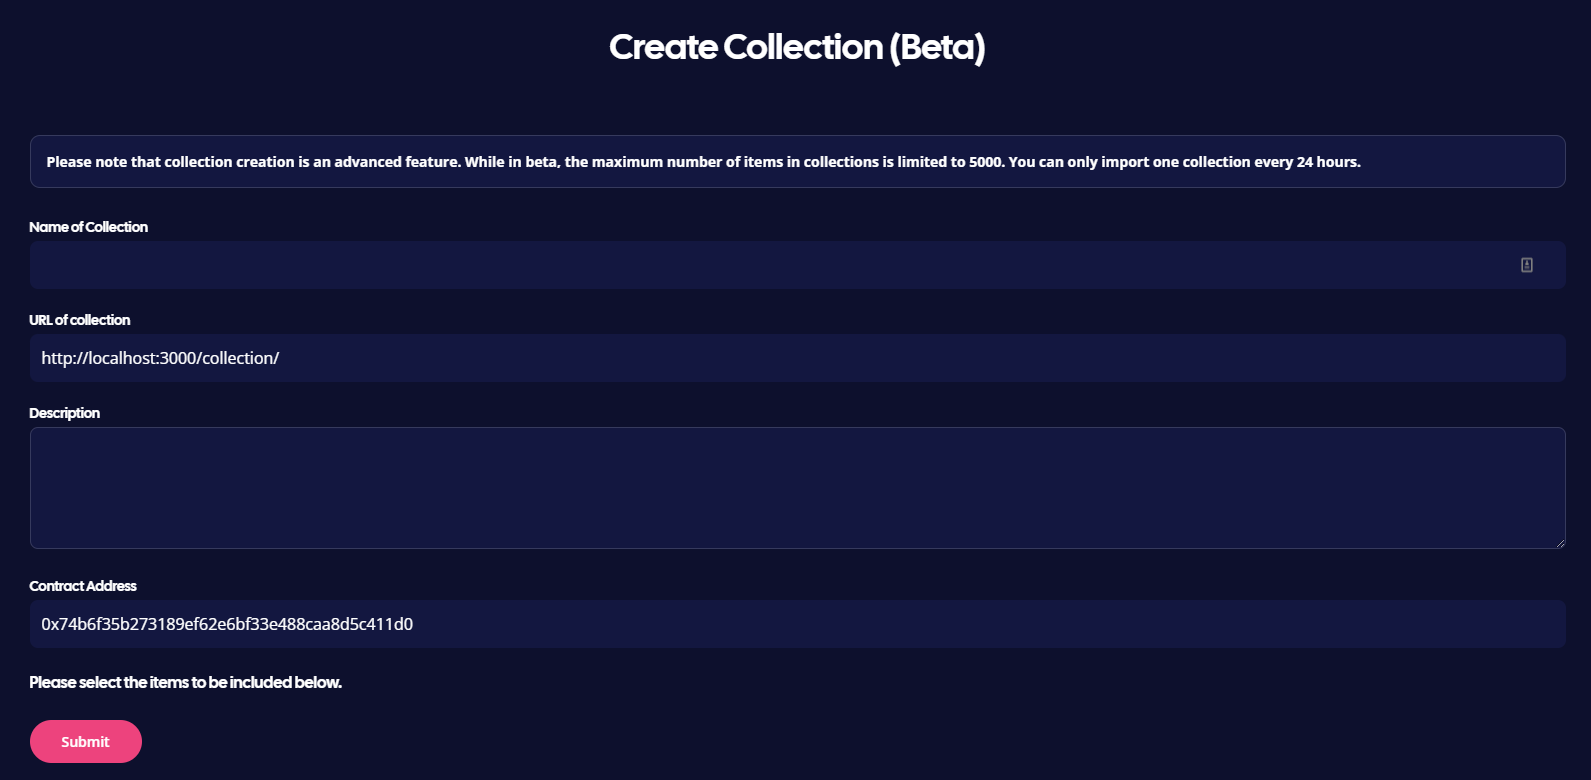
Click New Collection and fill out the basic information form
Below, you will find a spreadsheet table, where you’ll select your collection items. See the next step below for a detailed example.
3.2 Select collection items
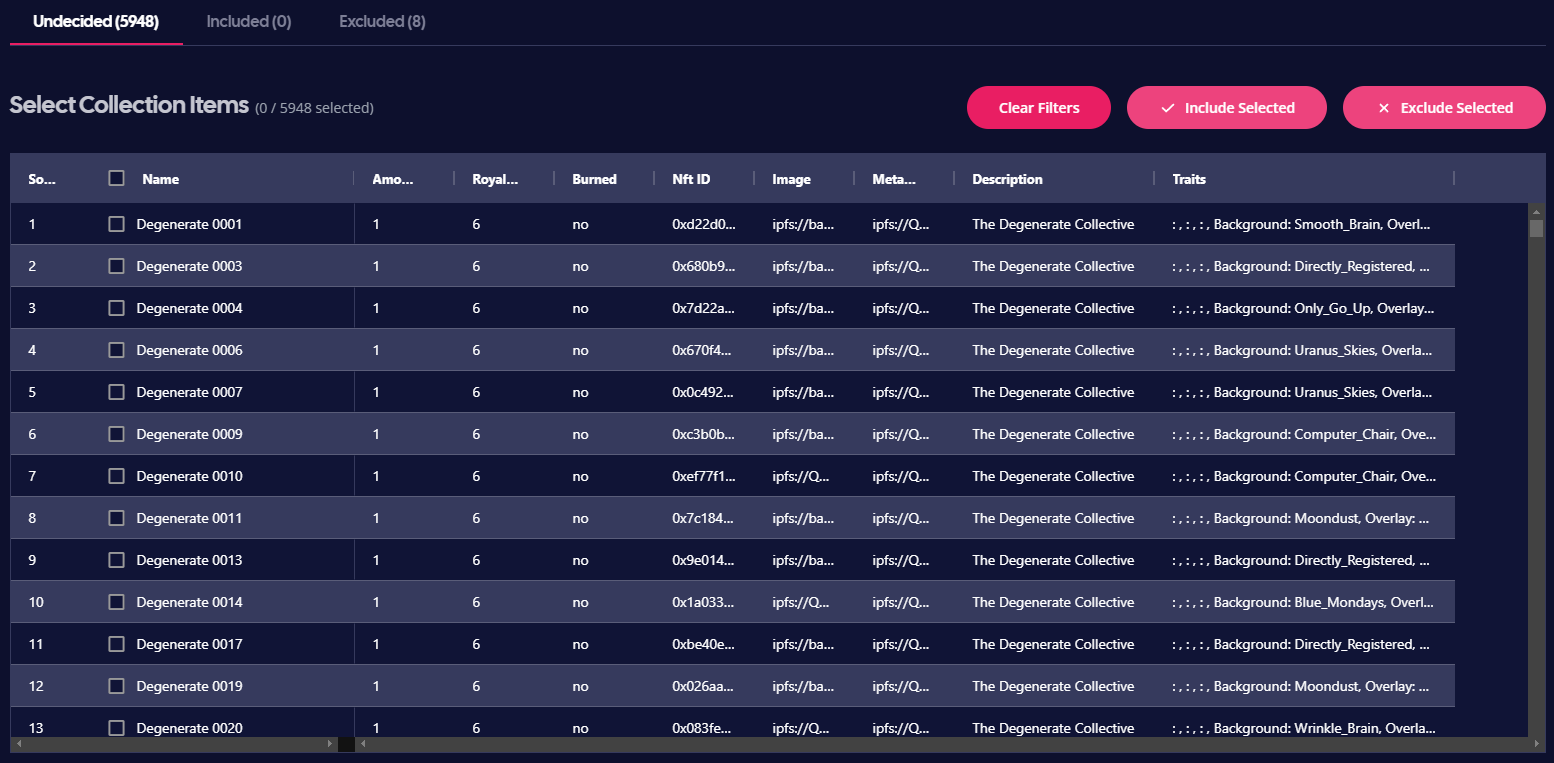
In the example below we’re importing the APE ID collection. This is what we see initially:
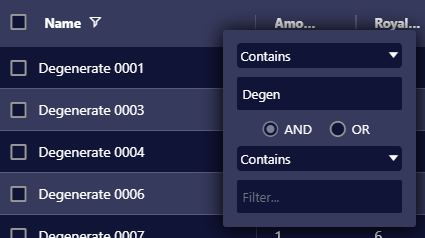
First, we exclude everything containing the word “Degen” (because we don’t consider those NFTs part of our intended smaller collection).
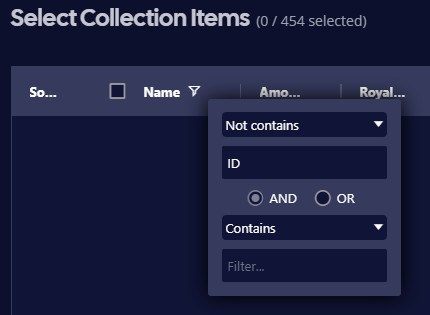
We hover over the Name column at the top, press the “filter icon” and input our conditions

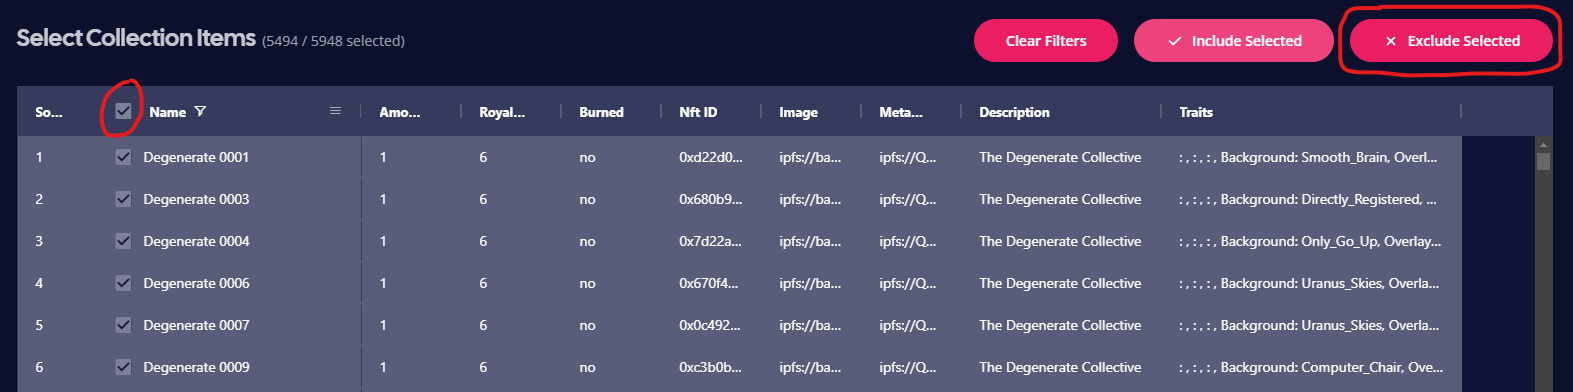
Next, we click the Select All checkbox and then Exclude Selected.
We now press Clear Filters and see the remaining 454 items.
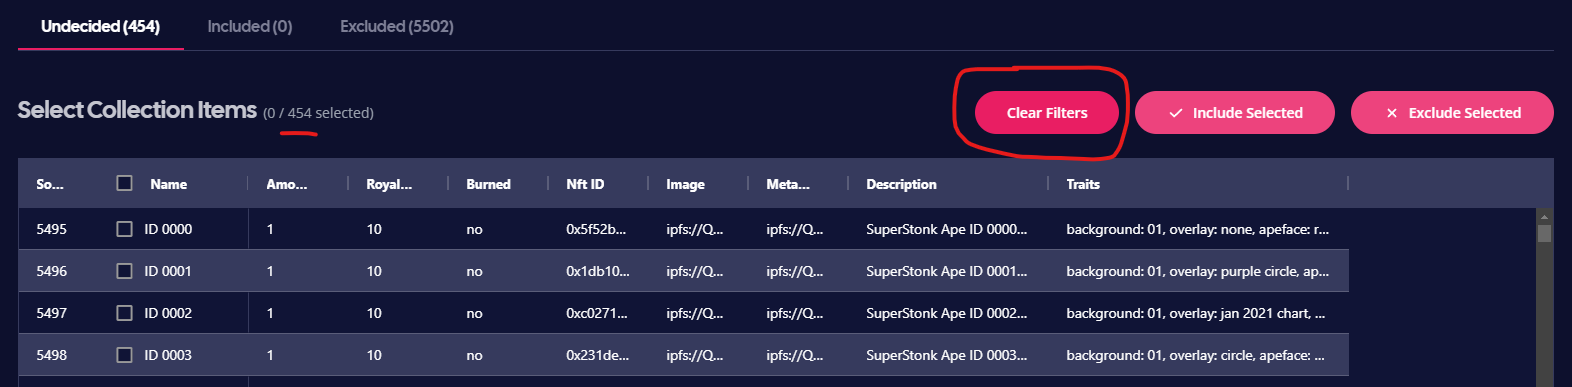
To make sure no unwanted NFTs will be included in the APE ID collection, we also exclude everything without the word “ID” (naming your NFTs properly pays off!).
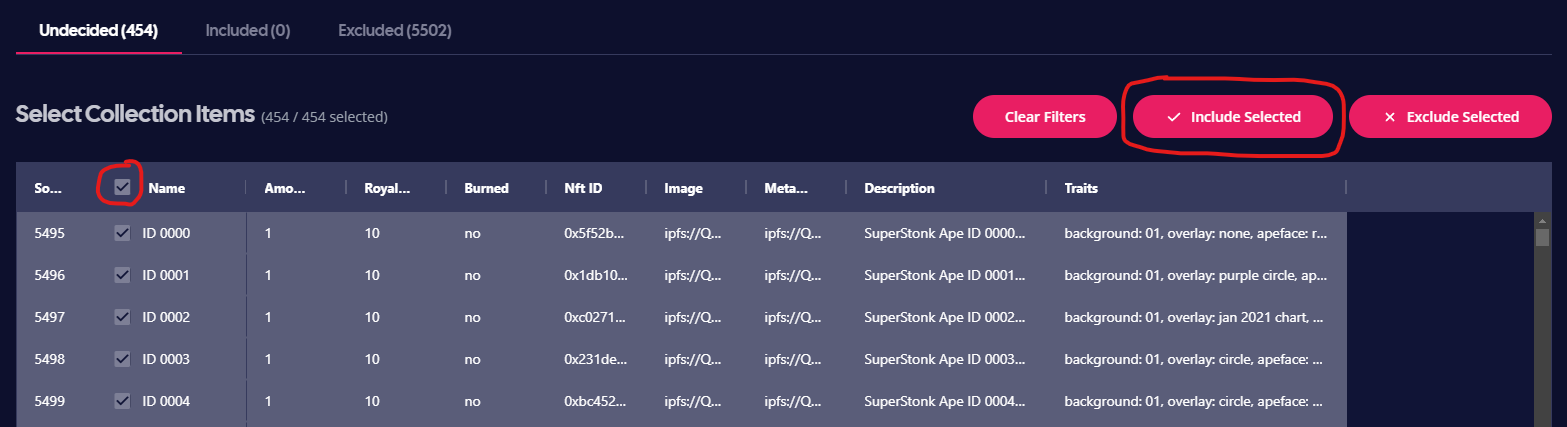
We see no matches, so we Clear Filters again, select all items and Include Selected.
Please note that all columns can be filtered. The Included and Excluded tabs can be used to correct mistakes and review items. Once there are no Undecided items left, we’re free to create the collection.
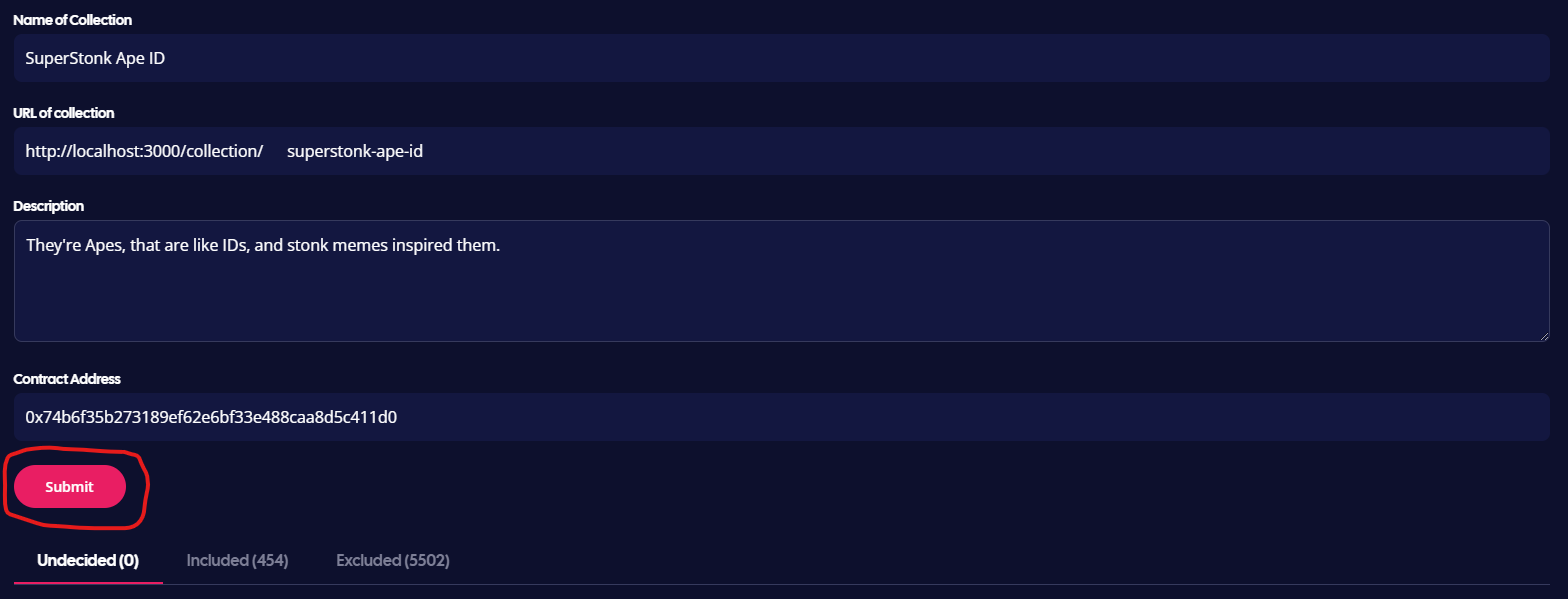
Make sure you filled every field (collection name, collection URL, etc.) and that there are no items left in the Undecided category (!)
Press Submit!
3.3 Almost done!
We can now find our newly created collection in My Account → My Collections. We only need a little more time for image processing, which you should use to preview your collection and beautify its page:
Click the collection to preview it
Go to Edit Collection in the collection menu (click on three dots) and add a cover picture, a profile picture and featured images for it
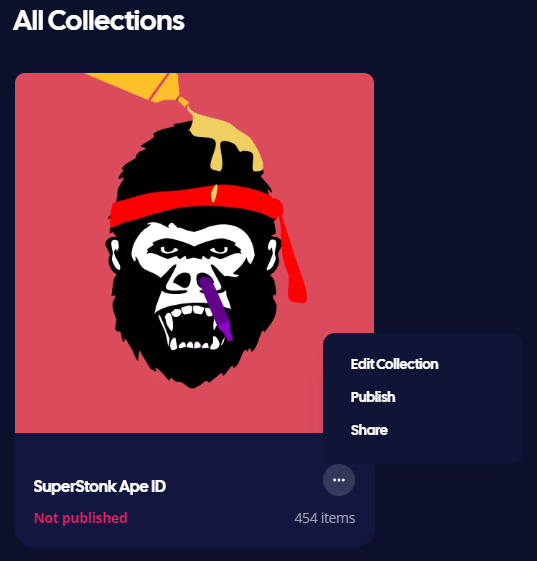
Press Publish!
4. Congratulations!
Your collection is now listed on LoopExchange :)
Updating existing collections
Applying changes to an already listed collection of yours is a very similar process. To do so:
Press Import Collection (My Account → My Collections) and provide the collection identifier of the collection you want to update
You will now find a new button in its card: Update Items for… Click it!
Use the same methods as described earlier to modify the collection and Publish!

In any case, feel free to ask for #support or give us #feedback on our Discord.
Don’t forget to follow us on Twitter too!
Happy listing :)